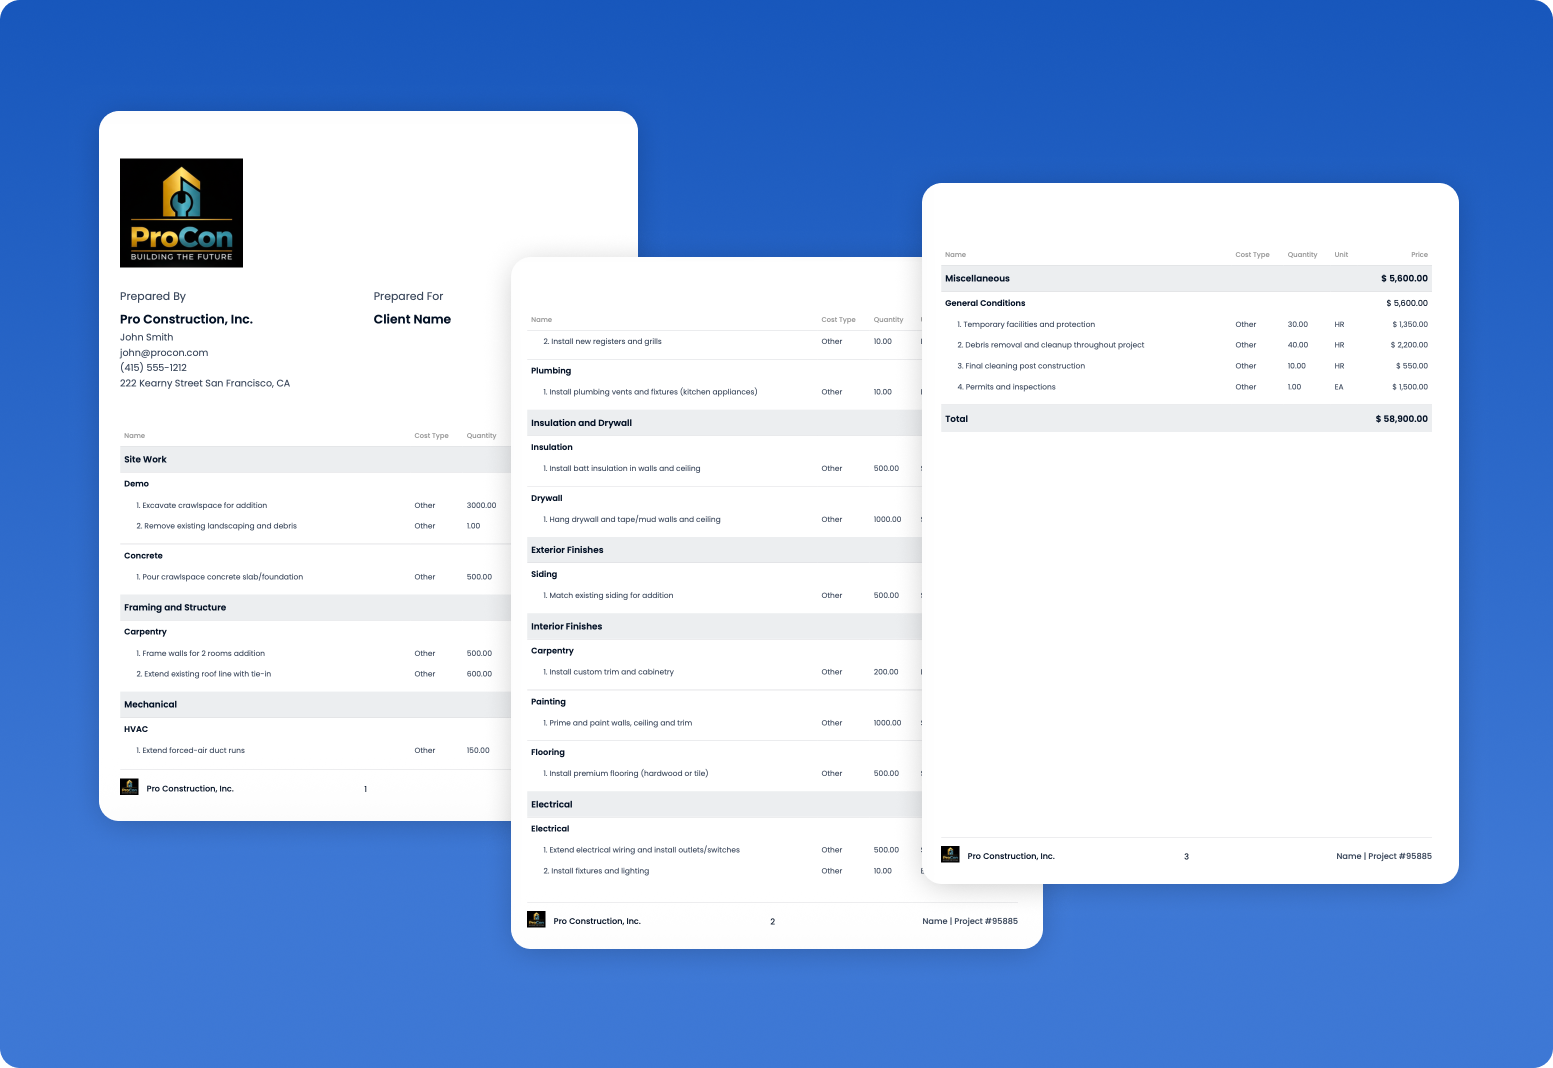
Good, Better, Best Pricing for Remodelers: How to Package Kitchen Renovation Options That Sell
Good, better, best pricing means presenting homeowners with three clearly defined versions of the same project, each with its own scope, finish level, and price, so they choose how to say yes instead of deciding whether to say yes. For kitchen remodels, that usually looks like a cosmetic refresh, a full mid-range remodel, and a premium redesign, priced and photographed so the differences are obvious.
Most remodelers already do a version of this informally ("we could also do quartz instead of laminate"). The difference with a structured good, better, best approach is that the options are designed in advance, priced consistently, and presented the same way every time. That makes them faster to quote, easier for any salesperson to sell, and easier to improve over time because you can see which tiers clients actually choose.
Key takeaways
- Three options shift the conversation from "is this too expensive?" to "which one fits us?"
- Design the middle tier as the option you most want to sell.
- Each tier needs a clear, plain-language difference in outcome, not just a different price.
- Keep your margin percentage consistent across tiers; higher tiers earn more profit dollars.
- Track your tier mix to know whether your tiers are designed and priced well.
- Once defined, tiers become reusable sales packages your whole team can quote from.
Why Three Options Work
A single price invites a yes-or-no decision, and often a comparison against another contractor's single price. Three options change the frame:
- Choice instead of rejection. A homeowner who finds one option too expensive can move down a tier instead of walking away.
- Anchoring. Seeing a premium option makes the middle option feel reasonable by comparison, a well-documented effect in behavioral pricing.
- Comparison inside your offer. When homeowners compare your three options against each other, they spend less time comparing you against competitors.
- Upsell without pressure. Clients upgrade themselves when they can see exactly what the next tier adds.
- Better qualification. The tier a client gravitates toward tells you a lot about their real budget and priorities, early in the conversation.
When Good, Better, Best Isn't the Right Fit
Tiers work best for repeatable projects with clear finish levels: kitchens, bathrooms, tub-to-shower conversions, decks, flooring, and many exterior projects. They're a weaker fit for:
- Insurance or restoration jobs where the scope is defined by the damage.
- Code-required or structural repairs where there's only one right way to do the work.
- Architect-designed projects with fixed specifications.
- Small service calls where three options add more confusion than value.
For those, a single detailed scope with a short list of priced add-ons usually works better.
How to Build Each Tier
Good: the credible entry point
This isn't a "cheap" option. It's the most efficient way to solve the core problem. For a kitchen, that might mean keeping the layout, refacing or painting cabinets, and upgrading the most visible surfaces. It should be work you're proud of, priced at a margin you can live with. A good test: if a client picks it, are you happy?
Better: the one you want to sell
Build this tier around what most of your kitchen clients actually want: new cabinets, quality countertops, a tile backsplash, and updated lighting and fixtures. Make it the default recommendation, give it the best photos, and make sure it's the work your crews do most efficiently.
Best: the premium experience
This tier adds the things that make a kitchen feel custom: layout changes, an island, premium surfaces, upgraded appliances, and designed lighting. Even if fewer clients choose it, it anchors the conversation and attracts the clients who want the best.
Name Your Tiers Like Outcomes
"Good, better, best" is the framework, not the label your clients should see. Calling an option "Good" quietly tells the homeowner it's the inferior choice. Name each tier after what it does for them:
Sample Kitchen Renovation Options Matrix
Here's a starting matrix you can adapt. Adjust the specifics to your market, suppliers, and the work you do best.
Notice that each column describes a different outcome, not just different materials. That's what makes the options easy to explain and easy to choose between.

Worked Pricing Example
Illustrative numbers to show the method. Use your own costs and margin targets.
Say your target gross margin is 33% on every kitchen. Price each tier from its own direct costs using Price = Cost ÷ (1 − 0.33):
Two things stand out. First, the margin percentage is the same on every tier, so no option is a loss leader. Second, the profit dollars roughly double with each step up. Moving one client from Refresh to Full Remodel adds about $11,000 in gross profit, often for similar sales effort. That's why the middle tier deserves your best photos and your default recommendation.
For the full markup and margin math, see how to price a kitchen remodel as a contractor.
How to Space Prices Between Tiers
- Price each tier on its own costs and margin. Don't just add a percentage. Build each one from real line items so every tier is profitable.
- Make the jump to the middle tier feel easy. It should look like the obvious value upgrade.
- Make the top tier clearly premium. A bigger gap reinforces that it's special, and makes the middle option look like the smart choice.
- Use allowances for selections. Allowances for appliances, tile, and fixtures keep tiers comparable while leaving room for client choices.
- Show monthly payments if you offer financing. The step between tiers often feels smaller as a monthly difference. See how to offer customer financing.
Tier Ideas for Other Projects
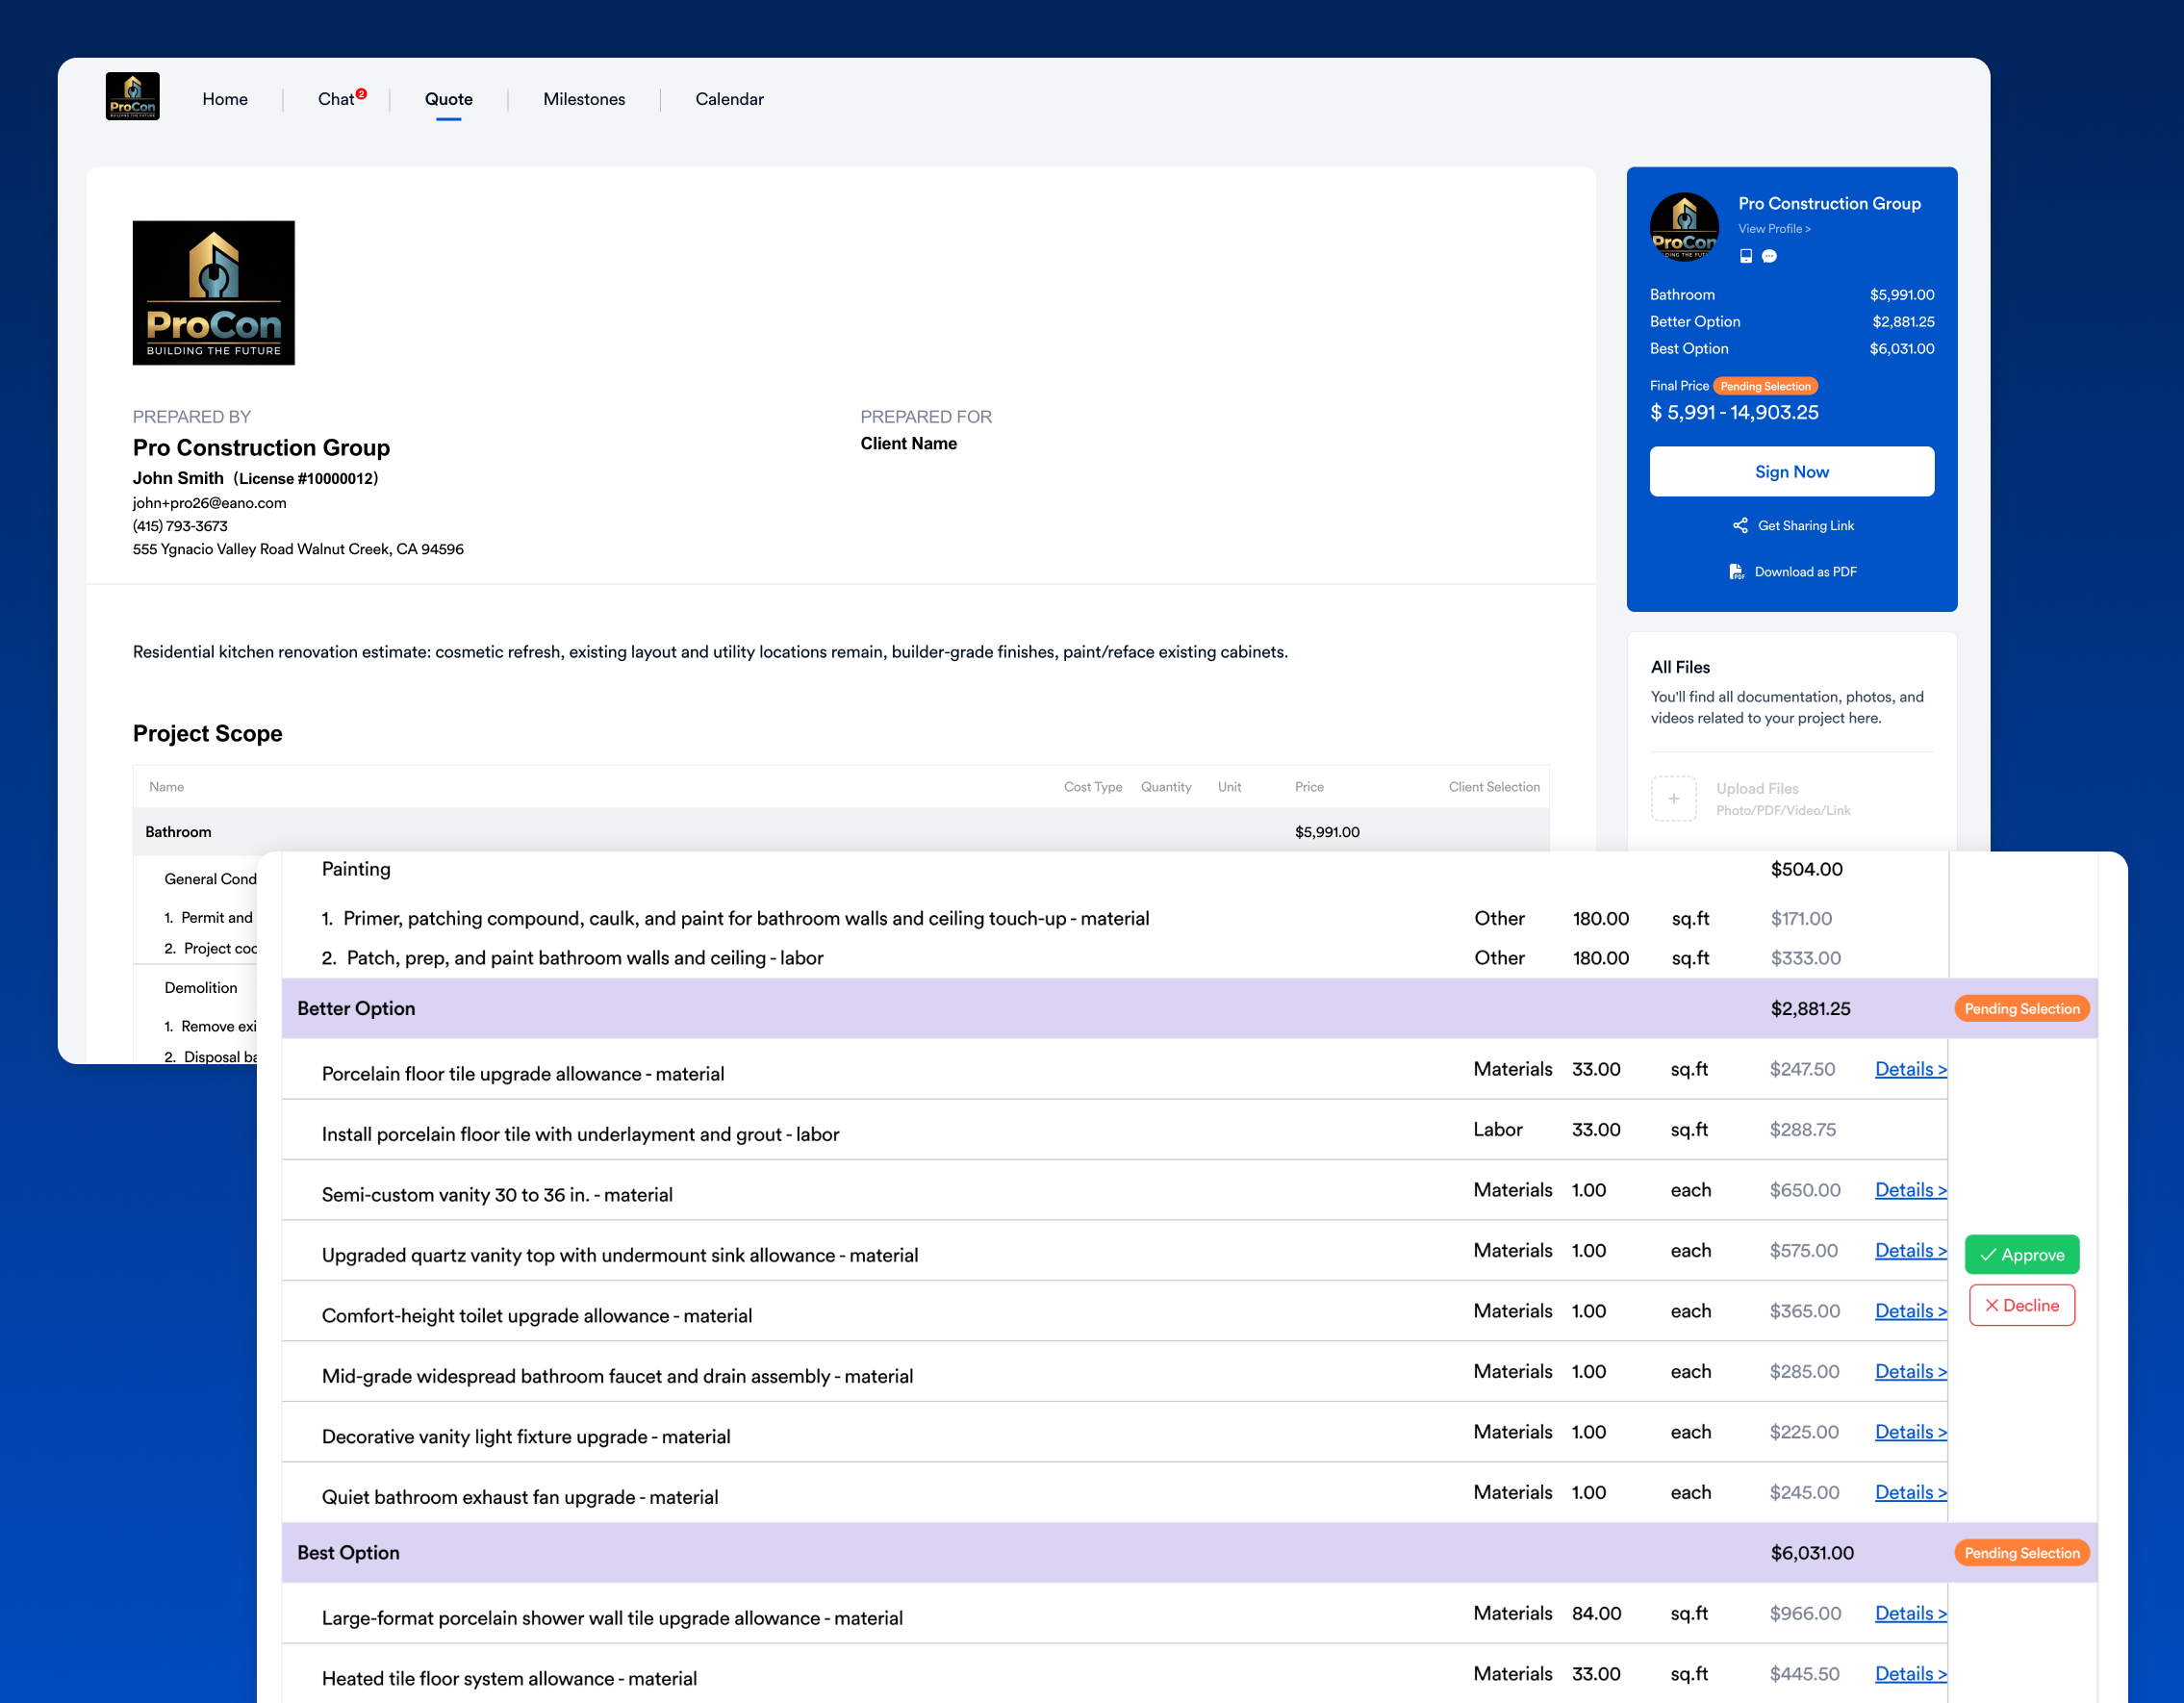
For filled-in bathroom, kitchen, and deck quotes with example prices, see our construction quote template with options.
How to Present the Three Tiers
There are two proven ways to walk through tiers. Pick one and use it consistently:
- Anchor high: show the top tier first, then the middle, then the entry. The premium option sets the reference point, and the middle feels like a smart value.
- Lead with your recommendation: show the middle tier first as the best fit for their goals, then show what the step down saves and what the step up adds.
Either way, follow the same sequence:
- Restate their goals. "You said storage and a bigger work surface matter most."
- Show all three side by side with photos and the key differences.
- Recommend one and say why it fits them.
- Introduce add-ons only after they've chosen a tier.
- Ask for the decision: "Which of these feels right for you?"
Handling Common Objections
- "Can we get the Signature countertops at the Refresh price?" Offer the upgrade as a priced add-on to their chosen tier instead of discounting the tier.
- "The middle option is more than we planned." Show what the entry tier keeps and what could be added later, or show the monthly difference with financing.
- "Another contractor quoted less." Compare their scope against the matching tier line by line. Defined tiers make apples-to-apples comparisons easy.
- "We need to think about it." Ask which tier they're leaning toward and what would make them confident, then follow up with photos of a similar finished project.
Upselling Without Being Pushy
The best upsells don't feel like upsells. Within each tier, offer a short list of add-ons that solve real problems: under-cabinet lighting, a pot filler, pull-out organizers, or a beverage fridge. Show the price of each add-on clearly, and let the homeowner build their kitchen. Clients who feel in control spend more confidently.
Measure Your Tier Mix
Once tiers are in use, track which ones clients choose. The pattern tells you what to fix:
Also track average job size and add-on attach rate before and after you introduce tiers.
Rolling Tiers Out to a Sales Team
For sales managers, the value of tiers multiplies when every rep sells them the same way. Write a one-page summary of each tier (who it's for, what's included, what changes from the tier below), role-play the presentation and objections, and review tier mix by rep each month. Our guide to standardizing remodeling sales packages covers the full process, and the remodeling sales process shows where tiers fit from first call to signature.
Turn Your Tiers Into Reusable Sales Packages
Defining tiers once is valuable. Being able to quote them in minutes, every time, is where the real payoff comes from. With Eano's sales packages, you can turn your most popular projects into ready-to-sell packages with preset scope, pricing, payment milestones, and photos.
- Build once: clone a successful past project or convert an existing Eano Pro template into a package.
- Customize costs: set pricing, labor, and material costs for each package.
- Show the finished work: add project photography and image slideshows to each package.
- Publish anywhere: share packages as customer-facing landing pages from your website, social profiles, campaigns, or QR codes.
- Capture and close: leads flow into the Eano Pro CRM with follow-up reminders, where you can build the estimate, send it for e-signature, and track the proposal.
A simple way to set up good, better, best in Eano is to create three packages for the same project type, such as a Kitchen Refresh, Full Kitchen Remodel, and Signature Kitchen, each with its own scope, pricing, and photos. You can see what a live package catalog looks like in this sample remodeling package gallery.

Common Mistakes to Avoid
- Tiers that differ only in price. If clients can't see what changes, they'll pick the cheapest.
- Labeling a tier "Good" or "Basic." Name tiers after outcomes instead.
- Too many options. Three tiers plus a handful of add-ons is plenty. More creates decision fatigue.
- An unprofitable entry tier. Every tier has to work for your business.
- Discounting instead of moving tiers. Offer the next tier down or remove an add-on before cutting price.
- No photos. Homeowners buy what they can picture.
- Inconsistent quoting. If every salesperson builds tiers differently, you lose the efficiency.
- Never revisiting tiers. Review pricing and tier mix at least quarterly.
Put It Into Practice
- Pick your most common project, usually kitchens or bathrooms.
- Define three tiers by outcome and give them client-friendly names.
- Price each from real line items at your target margin.
- Gather your best photos for each tier.
- Present them the same way on every appointment for a month, and track tier mix.
- Build them as sales packages in Eano Pro so every rep can quote them in minutes.
Need the document side? Our construction quote template with options shows how to lay out tiers and add-ons in a proposal.