5 Easy Steps to Organize Your Attic

5 Easy Steps To Organize Your Attic
By
Zia
|Last Updated: 26 Jul 2022
A lot of houses have an attic but not many people make good use of that space.
We usually end up tossing a couple of boxes of holiday decorations up there and then forgetting about it. But with some organization and a few bits of DIY ingenuity, we can turn your attic into a functional and accessible storage space. These are 5 easy steps to easily keep your attic neat and clutter-free!
1. PLYWOOD FLOORING

A lot of attics are difficult to use as storage because flooring is either limited or non-existent. Luckily, we can change that with just some plywood. Be careful when stepping into an unfinished area and only place your feet on the ceiling joists. If you put weight on the drywall between the joists, you'll damage it and possibly fall through. In a case like this, with the ceiling joists are 16 inches in the center we can simply take some 3/4 inch plywood and screw it down right on top. If your joists are spaced further apart or you're dealing with a truss system you may want to add additional bracing or better yet consult an engineer.
2. BINS AND SHELVES

Having a lot of space to put things doesn't really help if you can't find any of it. That's why I think the most important item in attic storage or any storage really is the clear storage bin. They keep out moisture and dust, they're stackable, they have handles and best of all they're clear so you can see exactly what's inside without having to pull everything off the shelf. I like to use these with some basic labels to help organize everything efficiently. If you have a flat wall, you can use shelving units to create a more organized area for your bins. Place heavier items on the bottom to keep the shelves stable and put larger items in the back so you can clearly see everything at a glance.
3. BUILT-IN SHELVING

One of the difficulties in most attics is the angle of the roof. This angle really limits what you can do with space so we're going to do is install shelves parallel to the floor using the roof rafters as support. If your roof has a strut coming from the rafter to the floor, you can use both parts as the basis for your shelves. If not, you can do what we're doing and add some two by fours between the rafters and the floor joists to play the same role. We've cut some plywood to the same width as the space between our struts so we can slide them in here. All we need now are some “2x4” to act as braces then you can place the plywood onto the frame you've created then screw it all together. It's a simple fix but adding these shelves can really improve the amount of space you have to store bins, baskets, and more.
4. RODS AND HOOKS
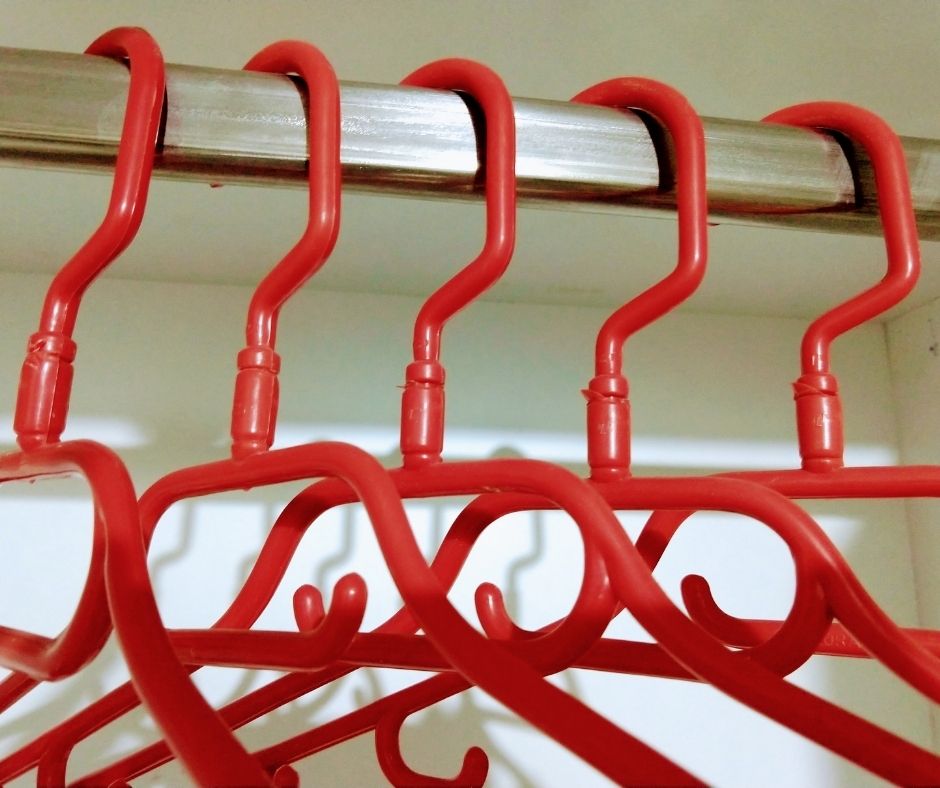
With a couple of brackets and a closed rod, you can hang things like winter coats, seasonal clothes, wreaths, and more. Dry-clean bags or garbage bags can help keep the dust off if you want to keep things looking their best. Basic screw-in hooks can also be a great tool for organization, not only can you hang items from the hooks you can also use two hooks together to hold a basket or bucket by the handle.
5. PIVOTING STORAGE BOX
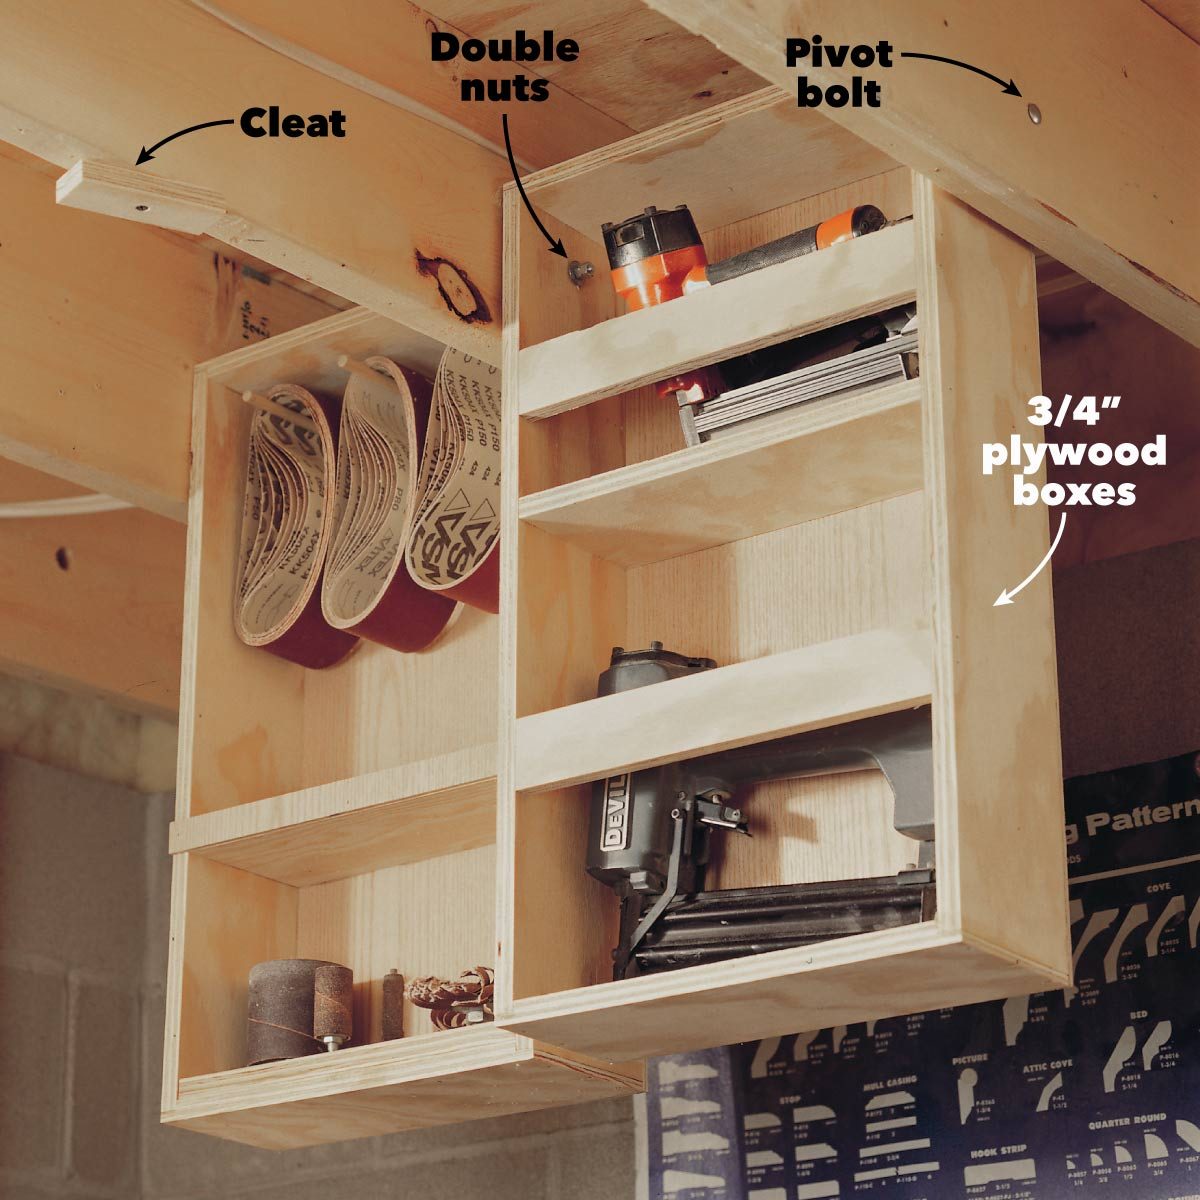
If you want to get a bit more involved in building, you can really maximize space with a pivoting storage box like this one. This mounts between the roof rafters and folds down to reveal storage for lots of different items. Measure the space between your rafters and subtract a quarter-inch, Cut two 2x4 to this width, determine the total length of the box you want to make, and subtract the width of the two by four as you just cut - this will be the length of your side pieces, cut two more 2X4 to this size. Now, you can screw the pieces together at the ends, measure the size of your finish box, and cut a piece of plywood to that same size. Attach it to the back of the box with screws, this will be a storage box.
Hold the box in place and drill a hole on either side—through the box and the roof rafters. Place carriage bolts through the rafters and the box to act as a pivot point. You can secure the boxes in the upright position with an eye hook or wooden cleat on a slightly loosen the screw. A small board or bungee cord can hold items in place in the vertical position (don't overload these boxes, if they get too heavy it can be unsafe to open and close them).
With some organization, basic tools, and some DIY know-how, you can easily transform your attic into a useful and manageable storage space. If you are meaning to look for more affordable ways to update your home then check out Eano's home remodeling packages. We offer home upgrades that would suit every homeowner's taste!
*All images are from the internet.


